Tinyduino(타이니두이노) - 03-6. Bluetooth chat을 이용 led 제어
자.. Bluetooth chat이 연결되었으니.. 이제 LED를 컨트를 해봅시다요~~
https://tiny-circuits.com/learn/tinyshield-led_matrix
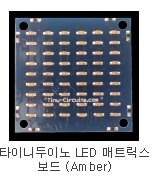
움.. 관련 아두이노 라이브러리가 있네요 ^^;
LoLShield.zip
Example: Scroll Text
- Install the LOLShield Library to the Arduino\libraries\ directory\
- Restart the Arduino IDE\
- Go to the File… Menu, Examples… LOLShield… LolShield_FontTest\
- Change the text on the line that say static const char test[]=”HELLO WORLD! “; to be what you want it to scroll (Note: Text must be uppercase).\
- Upload the sketch to the TinyDuino with the Matrix LED TinyShield plugged in and watch it scroll!
아래 처럼 대충 압축 풀고
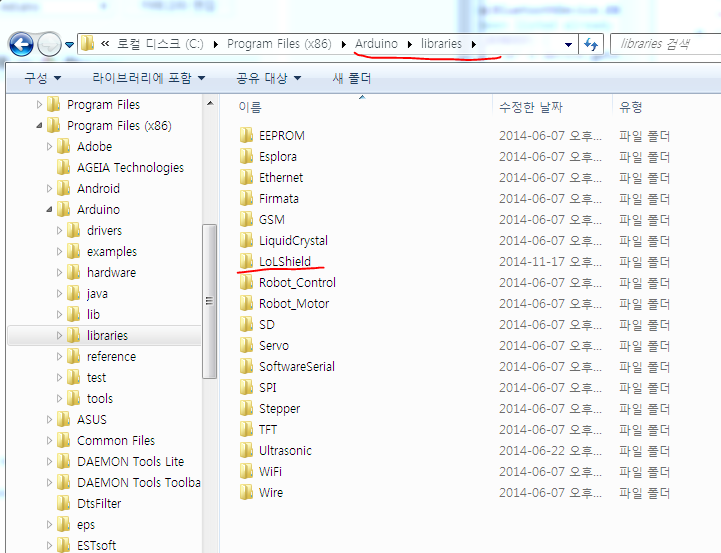
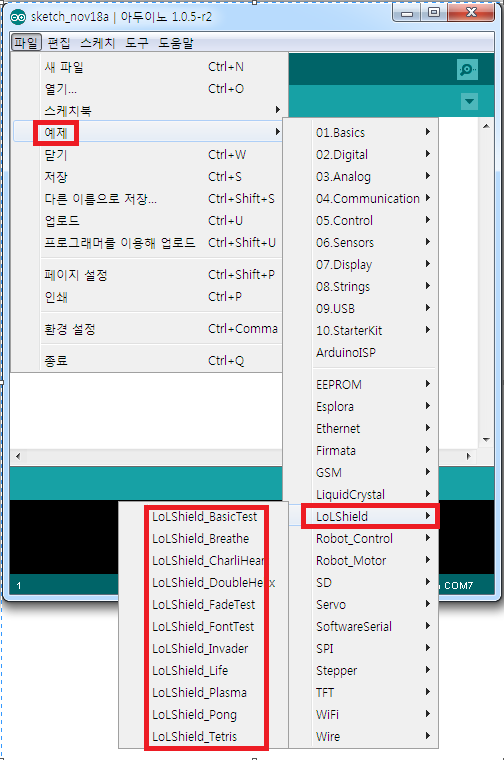
모 해보면 잘된다.. ^^;
자 이제 우리는 몰해야 할까??
BT로 오는 데이터에 맞춰서 동작을 추가하면 될듯하다.. 어떤 예제를 사용할지 확인해 보고..
LOLShield Basic Ttest를 사용하면 될것 같다 ^^;
arduino code는 아래와 같다.
void setup() {

LedSign::Init(DOUBLE_BUFFER | GRAYSCALE);  //Initializes the screen

Serial.begin(57600);

}

void loop() {

if (Serial.available())

{

if( Serial.read() != 0x0)

//if( Serial.read() == 'a')  // 속도 이슈인지 제대로 인식을 못해서 땜빵코드 ㅡㅡ

{

//Serial.print("b");

for (uint8_t gray = 7; gray < SHADES; gray++)

DisplayBitMap(gray);  //Displays the bitmap

}

}

}

void DisplayBitMap(uint8_t grayscale)

{

boolean run=true;    //While this is true, the screen updates

byte frame = 0;      //Frame counter

byte line = 0;       //Row counter

unsigned long data;  //Temporary storage of the row data

unsigned long start = 0;

while(run == true) {

for(line = 0; line < 9; line++) {

//Here we fetch data from program memory with a pointer.

data = pgm_read_word_near (&BitMap[frame][line]);

//Kills the loop if the kill number is found

if (data==18000){

run=false;

}

//This is where the bit-shifting happens to pull out

//each LED from a row. If the bit is 1, then the LED

//is turned on, otherwise it is turned off.

else for (byte led=0; led<14; ++led) {

if (data & (1<<led)) {

LedSign::Set(led, line, grayscale);

}

else {

LedSign::Set(led, line, 0);

}

}

}

LedSign::Flip(true);

unsigned long end = millis();

unsigned long diff = end - start;

if ( start && (diff < blinkdelay) )

delay( blinkdelay - diff );

start = end;

frame++;

}

}
살짝쿵 결과를 보면.. bluetooth chat으로 char을 보내면 타이니두이노에서 반응을 보인다.
그런데 저 속도는 몬지 ㅡ.ㅡ; 정확한 값이 아닌듯 ㅡㅜ
다음에 시간될때 …모가 문제인지 확인해 보자..
[2014/11/26]
일단 BT 모듈 확인해 봤는데…. 관련 싸이트에는 아래와 같이 나와 있다.
https://tiny-circuits.com/learn/tinyshield-bt
By default, the Bluetooth TinyShield will power up at 57600 baud, so the TinyDuino processor needs to be configured at this baud rate in order for communications to work.
Note: Several Bluetooth TinyShields have accidentally been shipped with the resistor R4 included on the assembly - this will set the UART baud rate to 9600. Check to see if this is present if you are having issues, if so, you will need to set the UART baud rate of your TinyDuino processor to 9600 baud. You can also remove the resistor to return this to 57600 baud, or contact us at TinyCircuits and we can modify the unit for you.
BT 회로를 봤을때 R4가 제대로 연결되어 있는것을 보았고..결국 56700 이라는건데….
한가지 의심을 해보았다.. USB 연결 소켓과 BT 연결소켓이 같이 연결되어 있으면 USB로 쓰는게 안된다..
그럼.. BT도 마찬가지 아닐까???
그런데 coin cell을 사서 써보니.. BT가 제대로 동작을 안한다 .. ㅡㅜ
그럼 어쩌지??? 리튬폴리머 베터리를 사고 타이니 두이노를 아래와 같이 개조를 했다.
결론은 성공.. ㅡ.ㅡ v
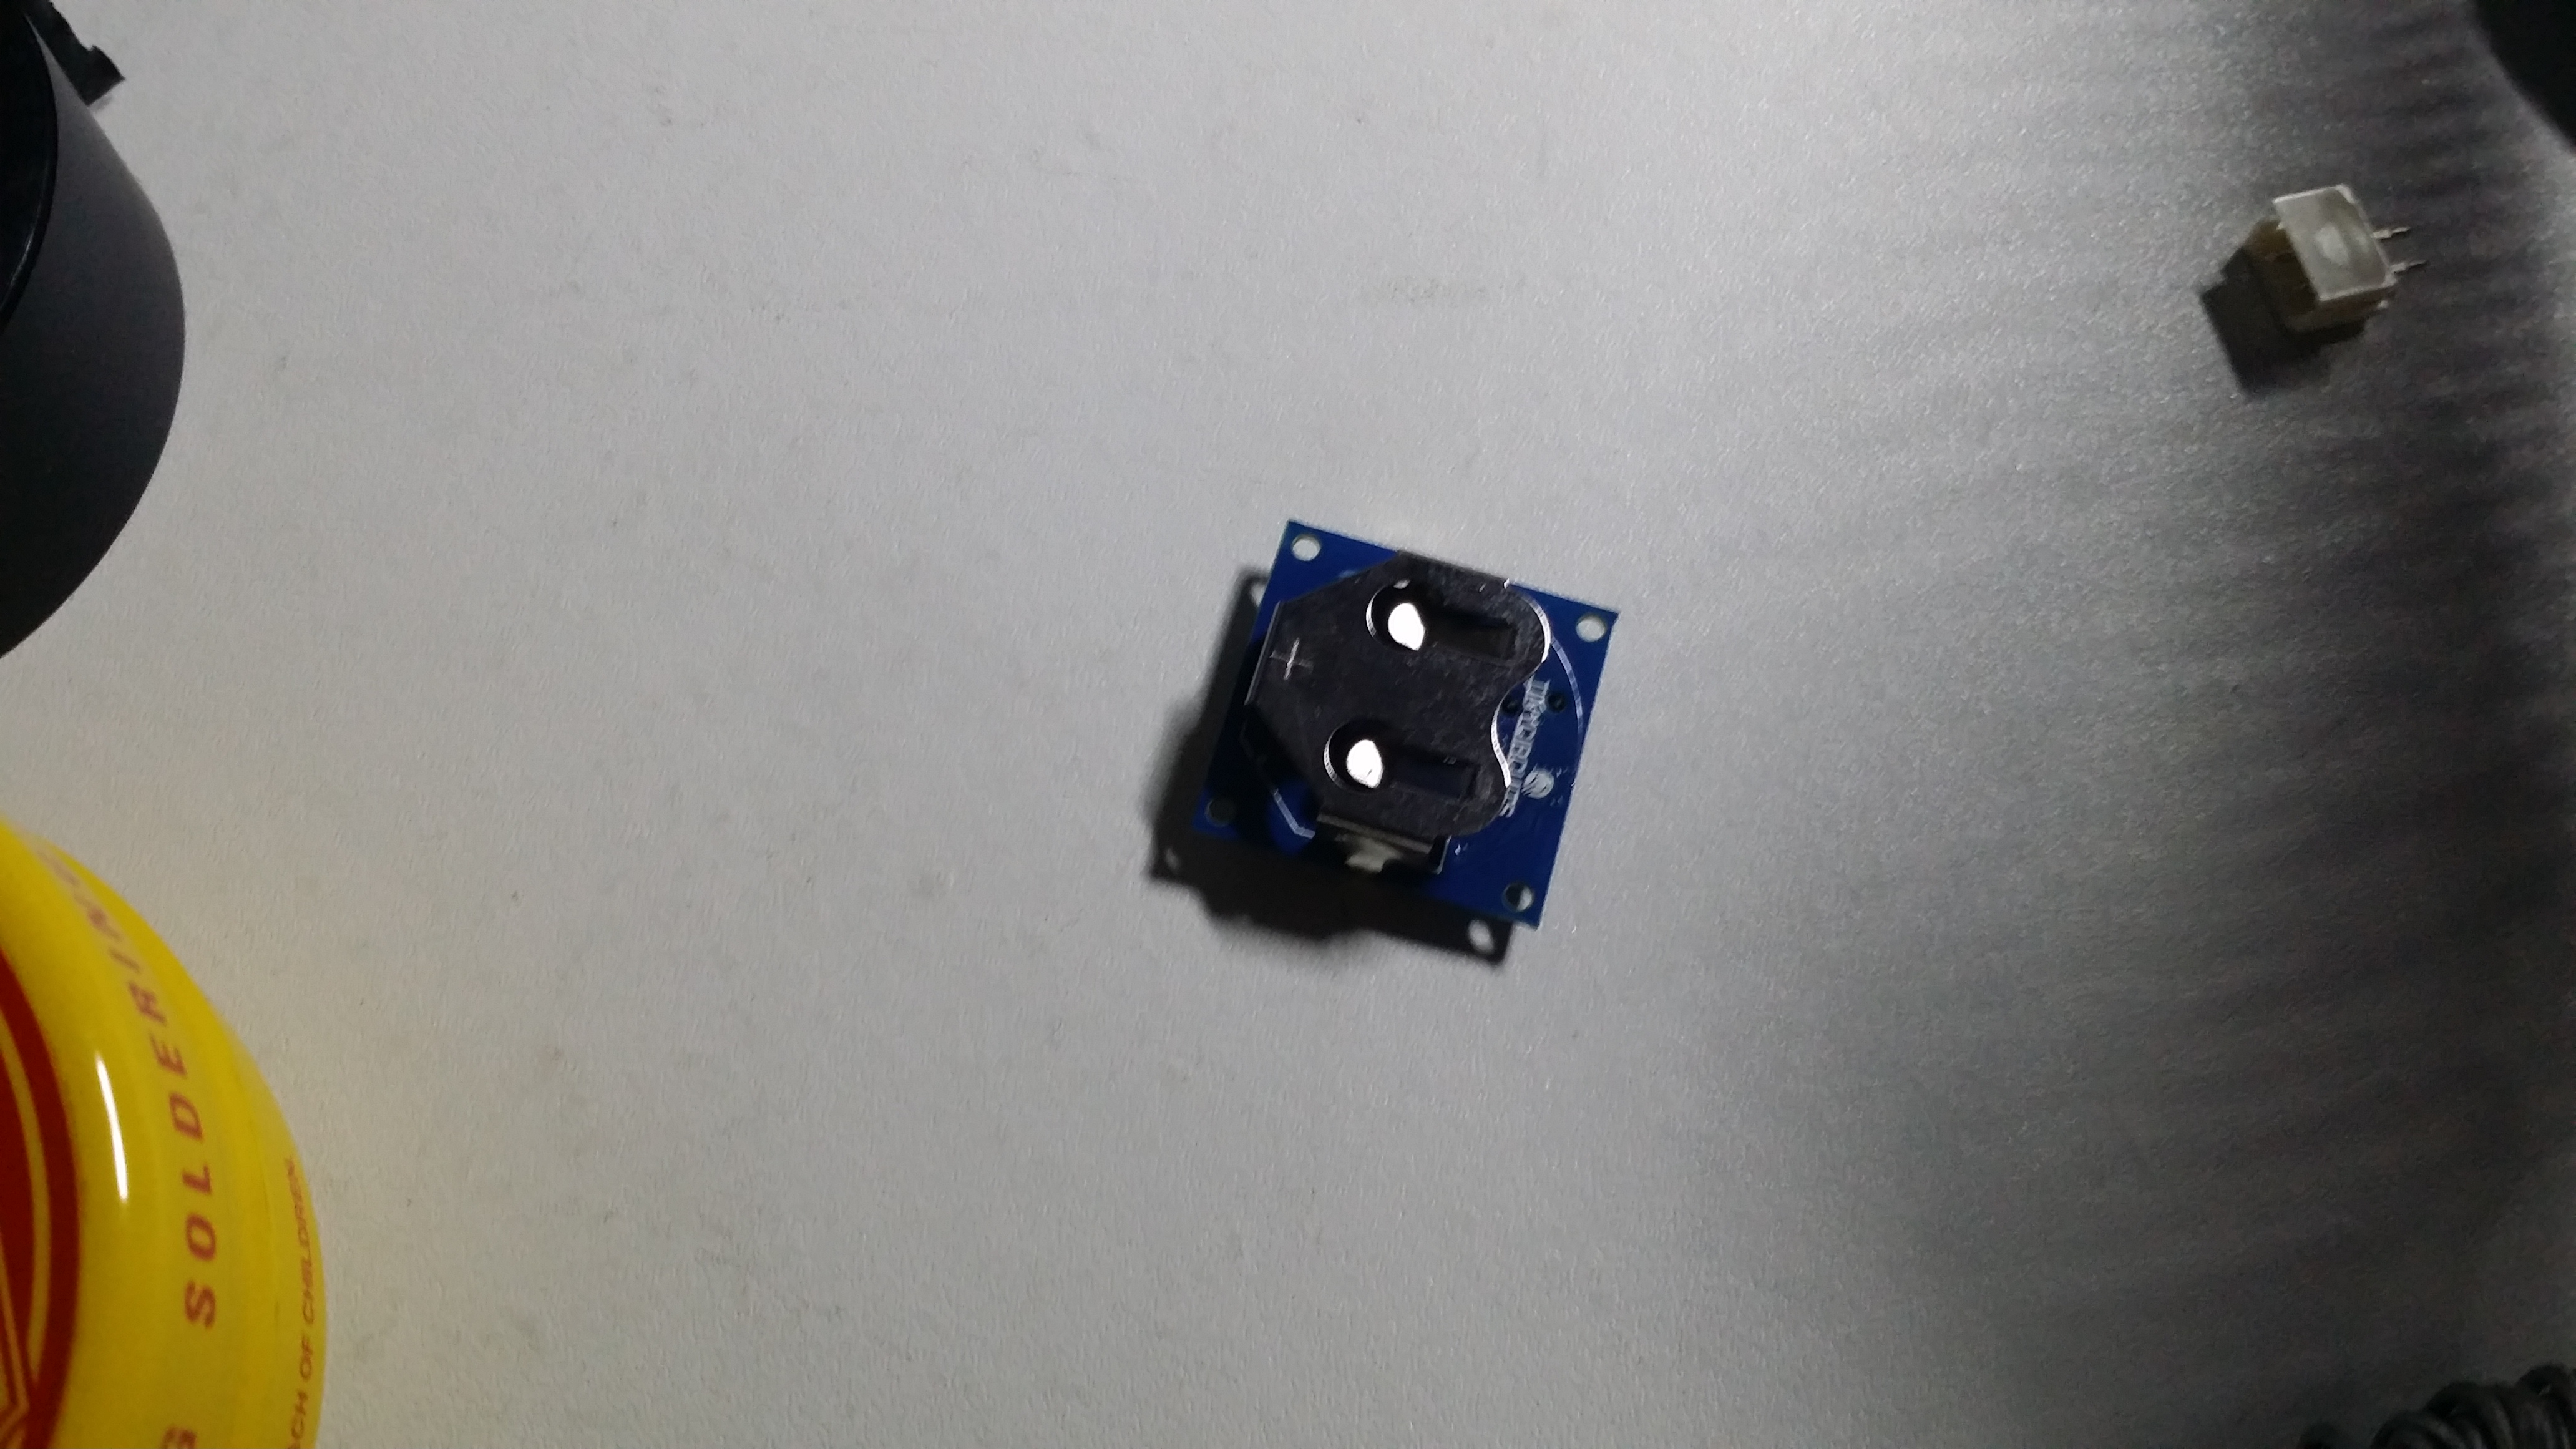
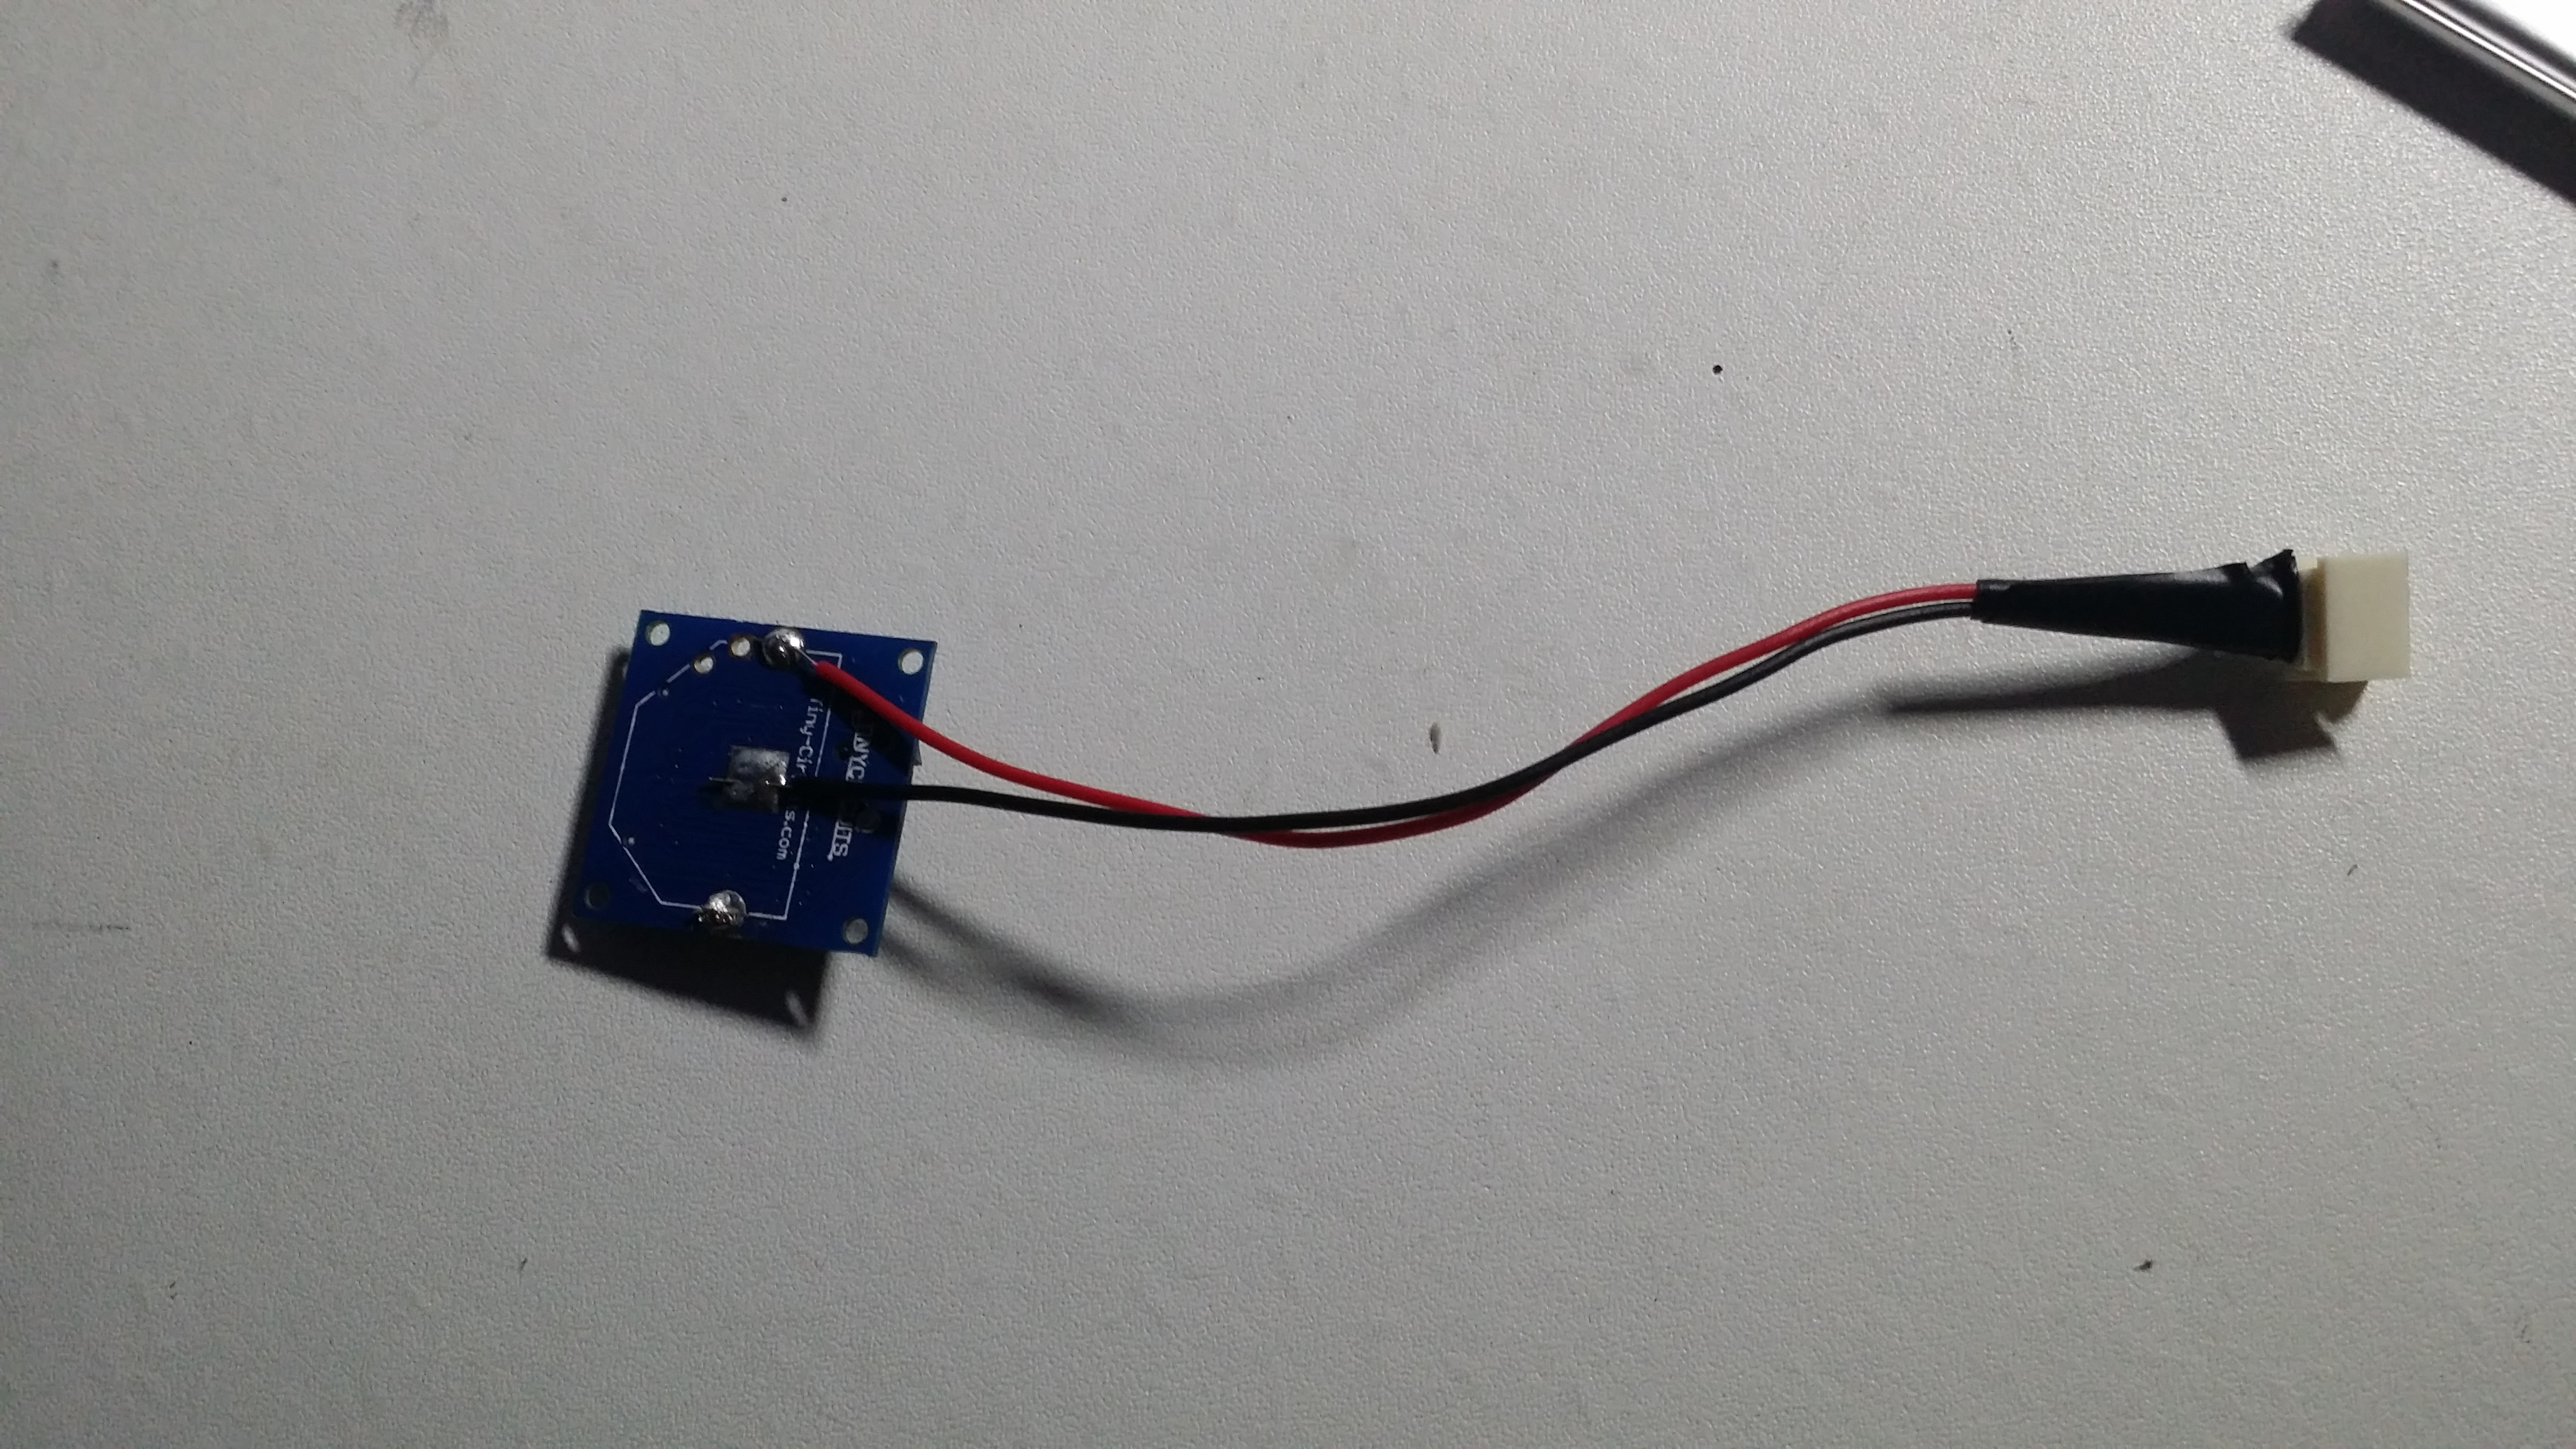
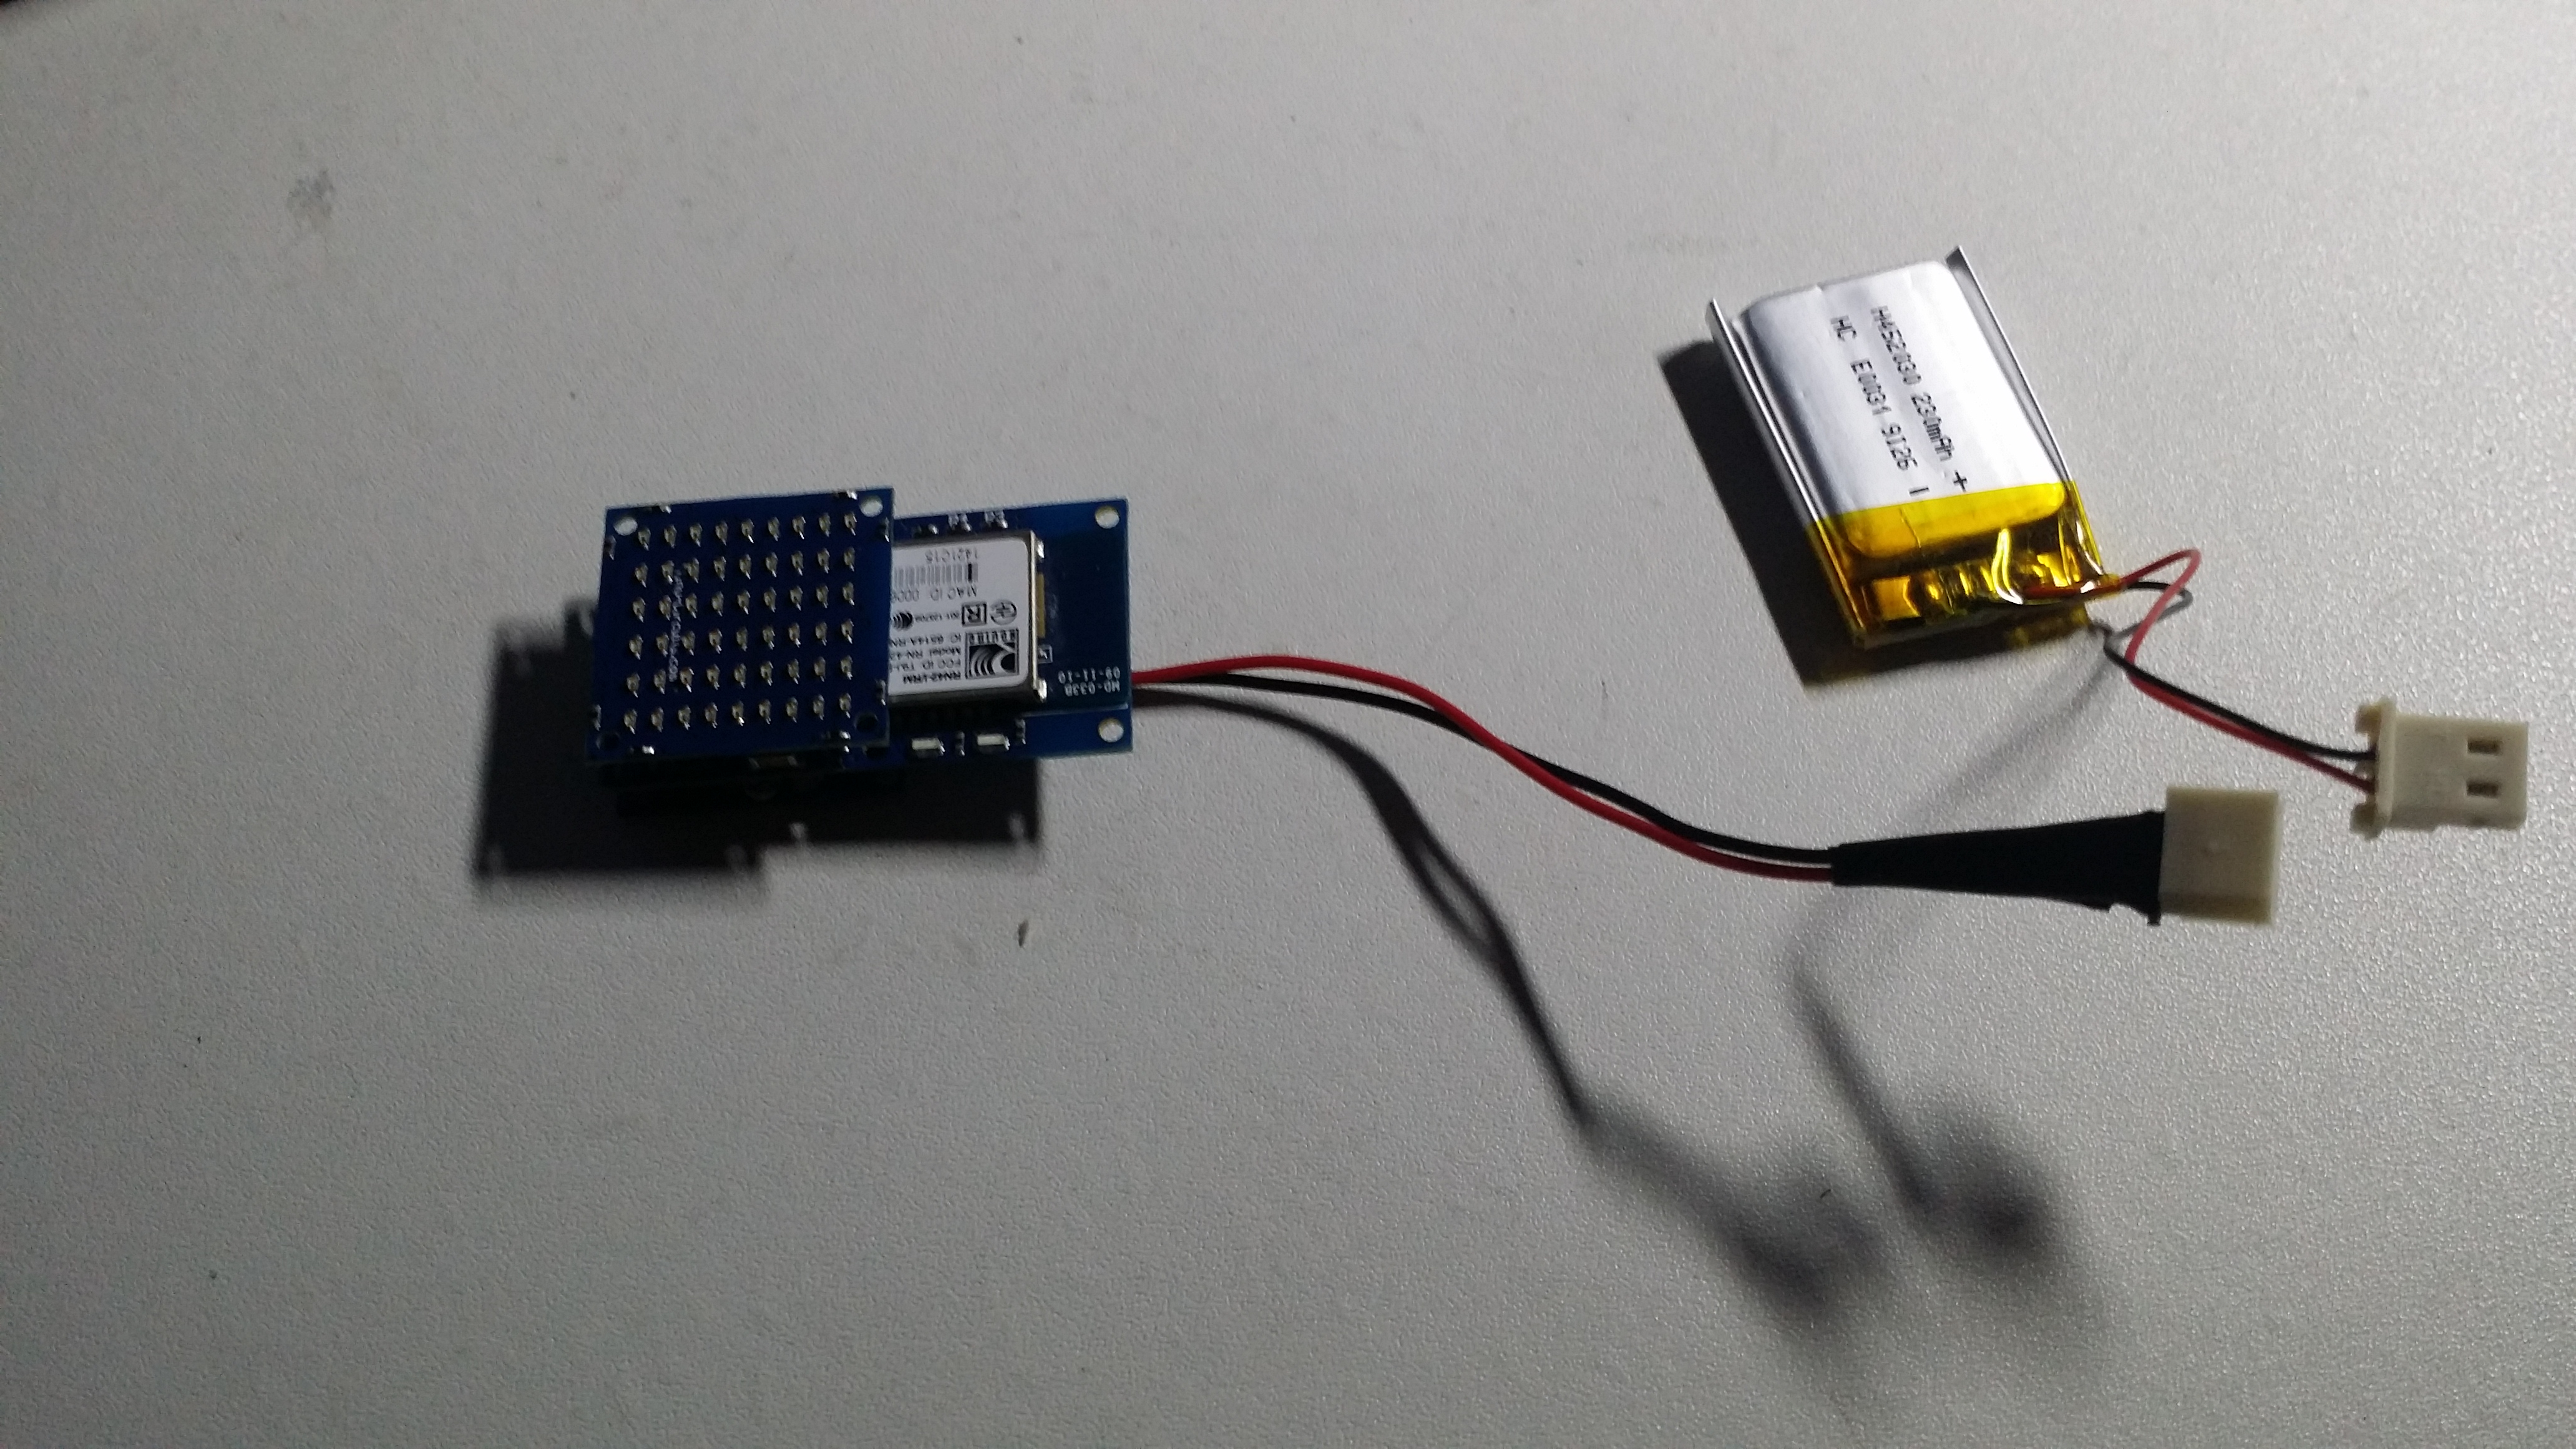
정리하면…
타이니두이노에 BT 연결할때 USB소켓을 연결하고 하지 말아야 하는것 같다.. 같은 UART 포트를 쓰는데 간섭이 있는듯..
그리고 베터리는 코인셀을 쓸경우 BT 동작이 잘안된다..
안전하게 리튬폴리머 “H452030-PCM-A(3.7V 230mAh)”를 사용하는게 좋을듯 하다.
아.. 이제 속시원하네.. 이제는 다음 단계로 기구 설계를 ^^;